Once the base design was finalised, work on the ground began with what was already there.
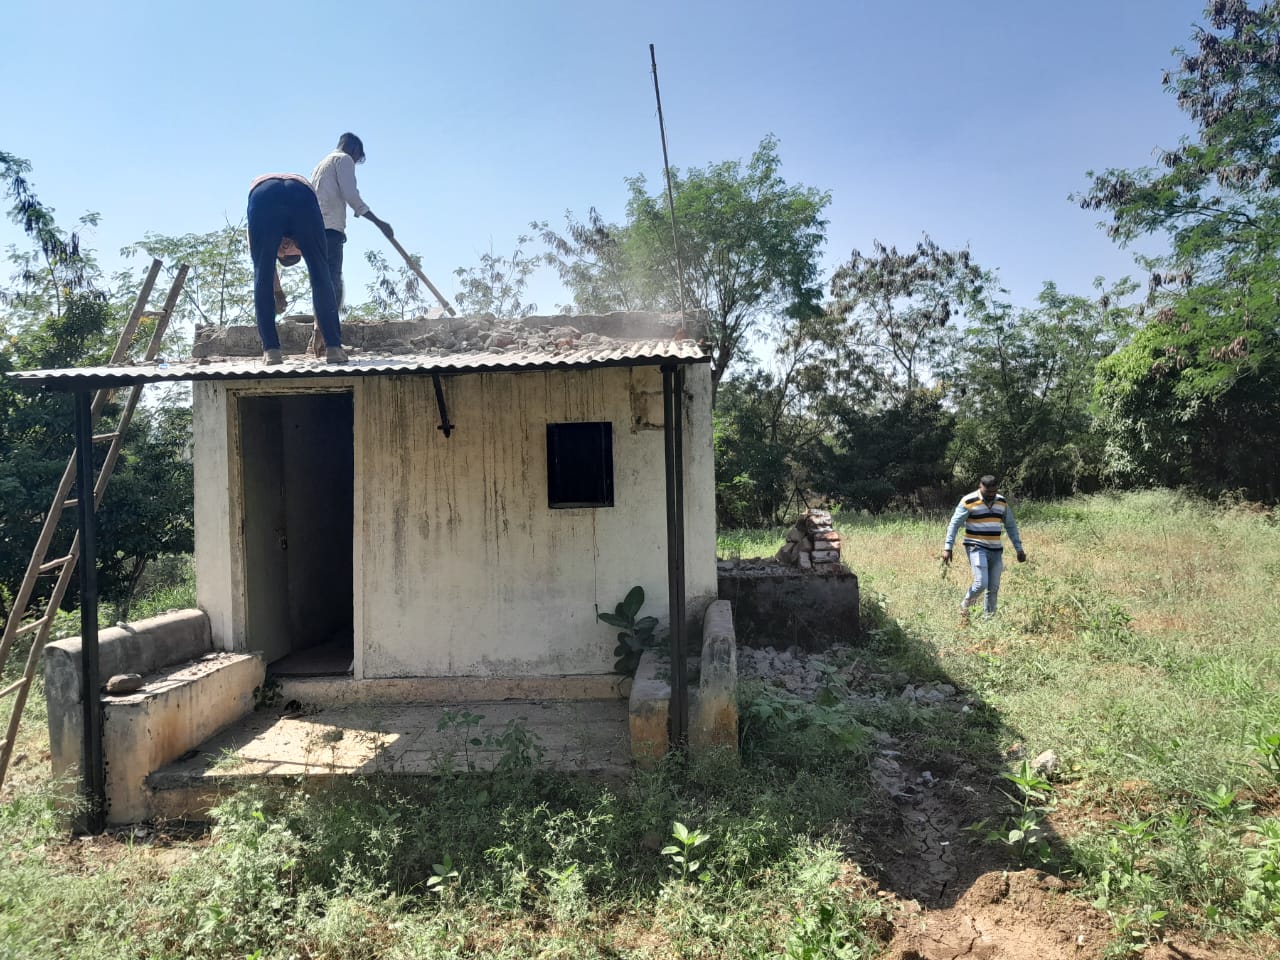
A small storage room stood on the plot — built in cement and concrete, with no place in the new plan. It had to come down. Because the debris would later be needed as fill for the foundation, the structure was dismantled by hand rather than mechanically demolished. Materials that could be reused — tin sheets, angles, and similar fittings — were salvaged on site.
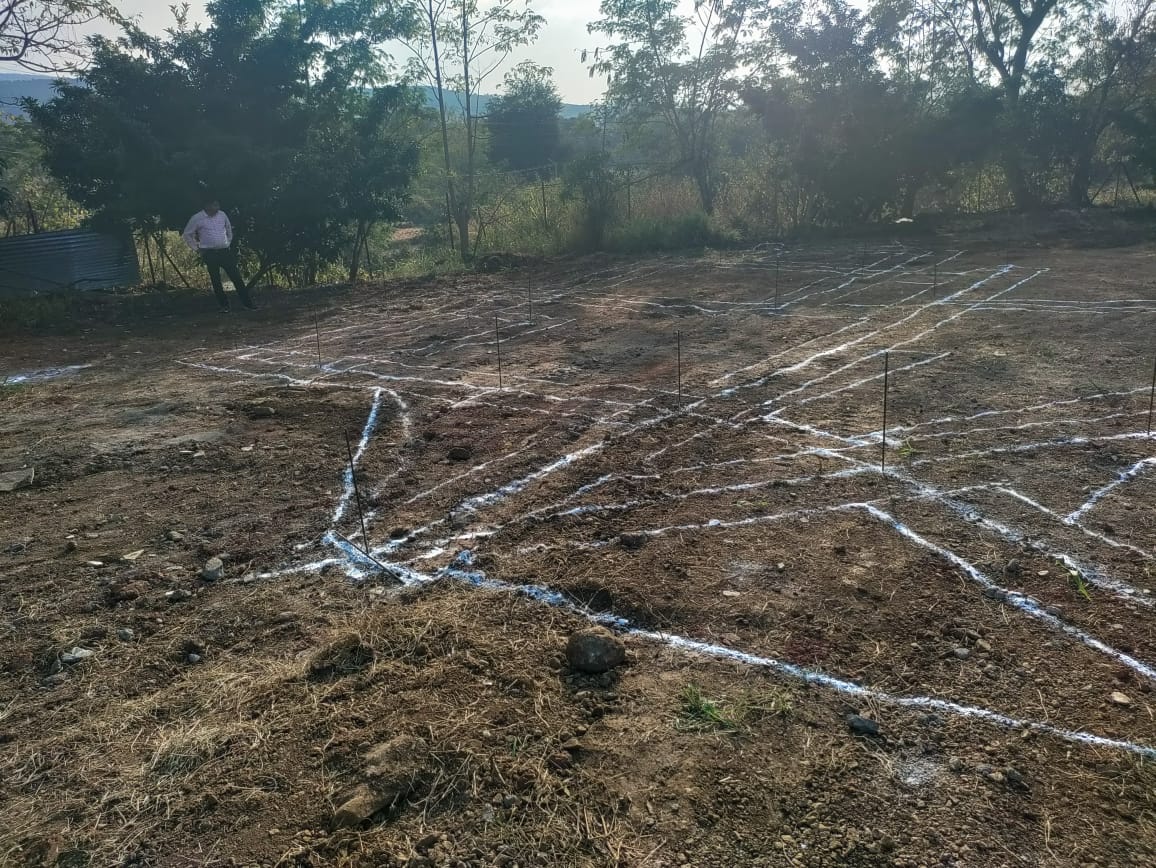
With the plot cleared, line-out was taken and pivot points were marked. The building footprint was drawn in lime on the earth, stake by stake, so every subsequent phase would have a true reference.
Laying out the whole site
Beyond the footprint itself, the 9,500 sqft plot as a whole had to be organized around the build — where the limestone soak tank, borewell, a storage shed, debris, and material piles would sit, all positioned so labour movement across the site was never hampered. Brick molding needed more room than the plot could spare, so that work moved to a plot outside ours; labour housing was arranged from the gaon instead of on site.
See the journal entries on measurement and layout and site layout and logistics for the full write-up from this phase.